
Combat: BREAK, EP, and matchups
Hit a 1.6× matchup, pressure BREAK with cheap actions, then spend the expensive skills while the target is open. Emptying EP at the start of a fight usually wastes the window.

Create the BREAK window first. Spend EP inside it, not as soon as a skill lights up.
Start with a 1.6× matchup
The chart on this site uses 1.6× for a super-effective hit, 1× for neutral, and 0.625× for a resist. Moving the same attack from resisted to super-effective is a 2.56× swing. Fix that before you swap gear or rewrite the party. Open the type chart first.
Read the skill’s element, not only the portrait. Leafy is Grass/Water; Blooms of Vigor is a Grass support field. Coraliz’s Rainstorm form drops Water from the base Rock/Water record, so the chart answer changes even if the name stays familiar.
This matrix is a community Closed Beta 3 snapshot stored on the site. If the live fight disagrees, trust the fight and recheck the form.
| Result | Multiplier |
|---|---|
| Resisted | 0.625× |
| Neutral | 1× |
| Super-effective | 1.6× |
| Two advantages | 2.56× (1.6 × 1.6) |
Skill cost, cooldown, and BREAK
Read the numbers that change timing. A worked example of “Start with a 1.6× matchup”, not a new plan.
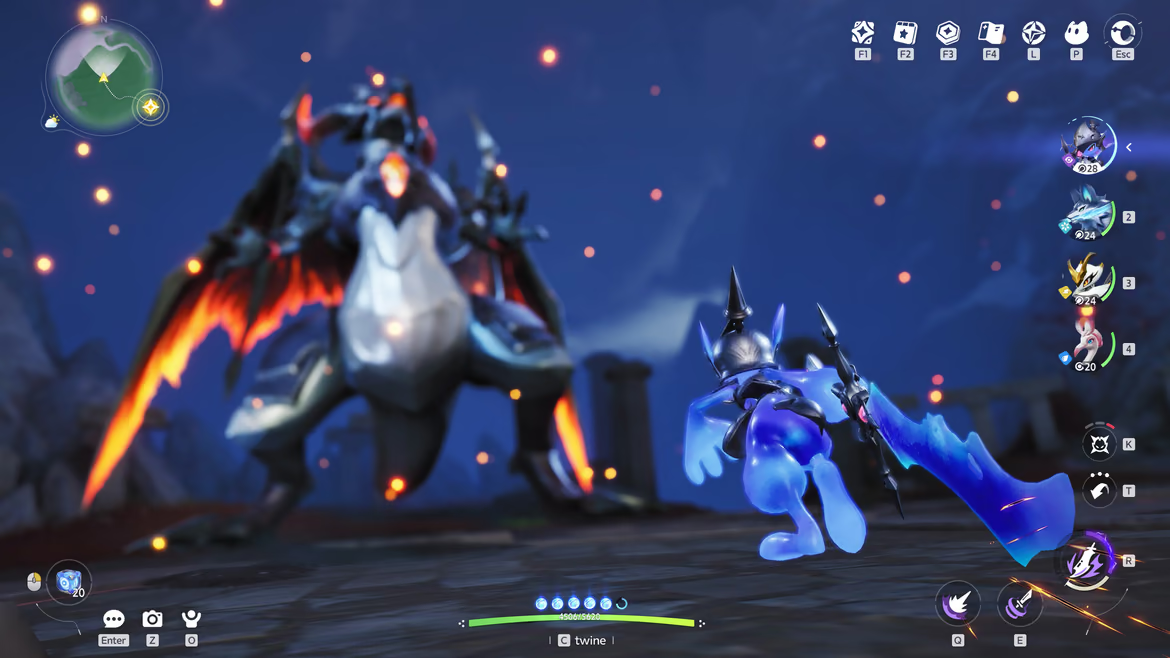
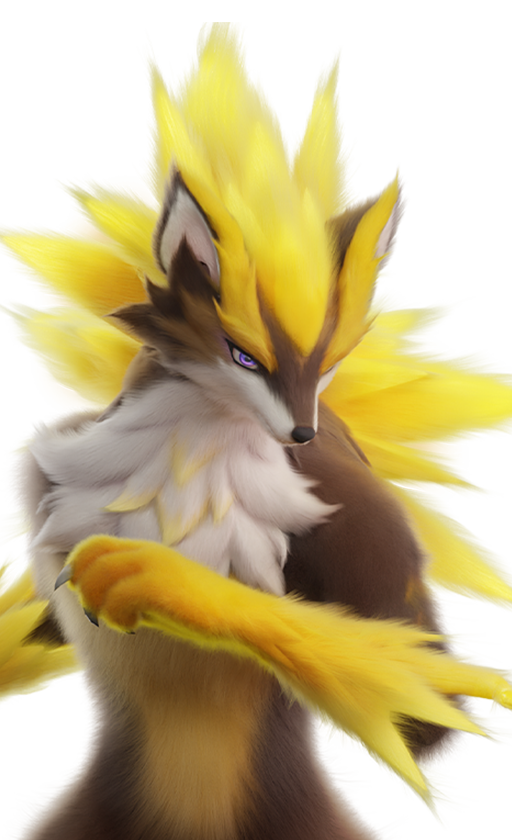
A skill with a large BREAK value is not automatically the button you should press first. Electrified Impact and Lightning Cross both carry a recorded 150% BREAK value on Blazen's profile, but they spend 20 EP in different ways: one is a dash that restores EP on a critical hit, while the other can hit up to three times and gains critical chance. The same headline number creates two different decisions.
Support skills move the timing again. Skippy's Healing Water spends 20 EP on party recovery and has a 20-second cooldown. Leafy's Blooms of Vigor costs 10 EP, also has a 20-second cooldown, and creates an energy-support field for Grass teammates. If you press either just because the gauge is full, it may be unavailable when its actual condition arrives.
Treat the database values as a ledger, not a solved rotation. The BREAK percentages below are the values stored on the skill records; they are not a claim about a universal enemy gauge formula. What the ledger does tell you is which buttons deserve a controlled test and which resource conflict you need to watch.
| Skill | Owner | EP / cooldown | Power / BREAK | What changes the timing |
|---|---|---|---|---|
| Fire Bolt | Emberpup family | 10 EP / 1s | 30 / 100% | Applies two Fire Debuff stacks for five seconds |
| Electrified Impact | Blazen | 20 EP / 0s | 33 / 150% | Dash; restores 5 EP on a critical hit |
| Lightning Cross | Blazen | 20 EP / 1s | 45 / 150% | Up to three hits; +50% critical chance |
| Pause Gust | Tubster | 15 EP / 1s | 48 / 150% | Two whirlwinds pull, then explode |
| Healing Water | Skippy / Pranky / Glacy | 20 EP / 20s | Healing / — | Party heal plus recovery over five seconds |
| Blooms of Vigor | Leafy | 10 EP / 20s | Support / — | Field restores EP to Grass teammates |
How to open a BREAK window
BREAK is the cue to cash in. The rest of the fight is setup.
Decide which actions build the meter and which actions spend the opening. If those jobs blur, the team looks busy and never converts.
Hold the carry’s expensive skill and Ultimate until the target is about to open. Drop short buffs and EP fields close to that moment, not at the start of a long fight.
- 01
Check the matchup
If your main element is resisted, swap the attacker before you worry about rotation.
- 02
Pressure with cheap actions
Use BREAK-tagged skills and basic attacks. Fire Bolt is 10 EP with 100% recorded BREAK; save the 20 EP buttons. Filter BREAK skills if you need a dedicated opener.
- 03
Hold the payoff
Keep one real damage skill and the Ultimate for the window.
- 04
Open BREAK, then spend
Swap the carry in with EP already banked. Dump the planned sequence, then go back to setup.
- 05
Reset
The next window starts with the first cheap action, not with waiting.
Save EP for the burst
EP is a timing resource. Entering BREAK on an empty bar turns the carry into basic attacks. Stop spending when the remaining EP covers the burst you already decided on.
Skippy’s Healing Water costs 20 EP and has a 20s cooldown — press it to keep someone alive, not because the bar is full. Leafy’s Blooms of Vigor costs 10 EP, lasts 12 seconds, and restores 1 EP a second to Grass teammates in the field. Drop it so the carry is standing in it during BREAK, not a minute earlier.
If you always arrive at the opening broke, the finisher is probably not too expensive. Earlier casts had nowhere to go.
| Question | If yes | If no |
|---|---|---|
| Does this build BREAK? | Use it in setup | Save the EP |
| Does this keep someone alive? | Spend it | Do not drain a safe moment |
| Does this exploit an opening you already have? | Stack it with the carry | Build the opening first |
| Is the skill the wrong element? | Swap the attacker | Forcing it will not help |
A 30-second test rotation
One controlled combat test. A worked example of “Save EP for the burst”, not a new plan.
Use a familiar encounter and enter with one question: can Tubster help create a cleaner opening for the damage slot? Start with Pause Gust when the pull can gather the target, note the gauge movement, and keep Gale Guard for the moment incoming pressure would otherwise force you out.
When the opening appears, spend the damage action you deliberately saved. If Blazen is the finisher, compare Electrified Impact with Lightning Cross instead of pressing both on cooldown. The first can pay back EP on a critical hit; the second leans harder into a multi-hit critical attempt. After the fight, the useful note is not ‘Blazen felt strong’. It is ‘the dash kept the rotation moving’ or ‘the cross was easier to place inside the window’.
Run the same test twice before changing another slot. A bad first attempt may be positioning, unfamiliar targeting, or a missed window rather than a roster failure. Only replace the Aniimo when you can name the repeated problem the replacement is supposed to solve.
| Moment | Button to watch | Question after the attempt |
|---|---|---|
| Approach | Pause Gust | Did the pull make the target easier to pressure or only move it? |
| Incoming threat | Gale Guard | Did the stance and shield preserve position long enough to keep pressure? |
| Opening | Electrified Impact or Lightning Cross | Which action fit the available window and EP state? |
| Review | No new button | Was the failure timing, targeting, resistance, survival, or missing BREAK? |
If damage is still low
Watch one full cycle and fix the first break in the plan. Another level will not hide a resisted hit or an empty EP bar.
Change one slot, repeat the same encounter, and keep the rest of the team still. Team Builder shows roles and elements; it cannot tell you whether you spent Lotus Bloom a minute too early. Use Compare when two candidates look similar on paper.
A usable team has jobs you can say out loud: who opens BREAK, who holds EP, who covers the bad matchup, who keeps the loop from collapsing.
| Symptom | Likely cause | First fix |
|---|---|---|
| Hits show a resist | 0.625× into the current form | Switch to a 1.6× attacker |
| BREAK opens with no EP | Setup skills emptied the carry | Add Regen or stop earlier |
| Buffs expire before BREAK | Support was cast too soon | Pressure first, shortest buff last |
| The meter barely moves | No BREAK slot | Add a BREAK Aniimo and let the carry save resources |
| The carry spends the window dodging | Position or sustain failed | Move the field, or add Heal |

Quick answers
How do I deal more damage in Aniimo?
Use a 1.6× matchup, build BREAK with cheaper skills, restore EP during setup, then spend the carry’s strong skill and Ultimate inside the window.
What does BREAK do?
BREAK is a short opening. Some kits pay extra during it; the shared lesson is timing. Open it when the carry has EP and cooldowns ready.
How much does elemental advantage matter?
Super-effective is 1.6×, resisted is 0.625×. Swapping from a resist to an advantage on the same hit is a 2.56× change, so matchup is usually the first thing to fix.
What should a four-Aniimo team include?
A damage carry, a way to open BREAK, and sustain from Heal or Regen. Use the fourth slot for matching Support or the encounter’s worst threat.